Step-by-Step Guide: How to Install Cabinet Filler Strips Like a Pro
Installation of kitchen cabinets: If you want a finished, neat look then cabinet filler strips are necessary for sure. These narrow strips serve to fill holes between cupboards or the space behind one of your wall cabinets. In these step-by-step instructions, I’m going to show you how a professional installs the cabinet filler strips so that your cabinets always look great.
Importance of cabinet filler strips
The reasons behind cabinet filler strips are both practical and cosmetic. Secondly, they help fill any space between cabinets (often along the outer wall of a home), leaving places dust and debris can collect open. In addition, filler strips make your cabinets hang straight–they make for a neat look.
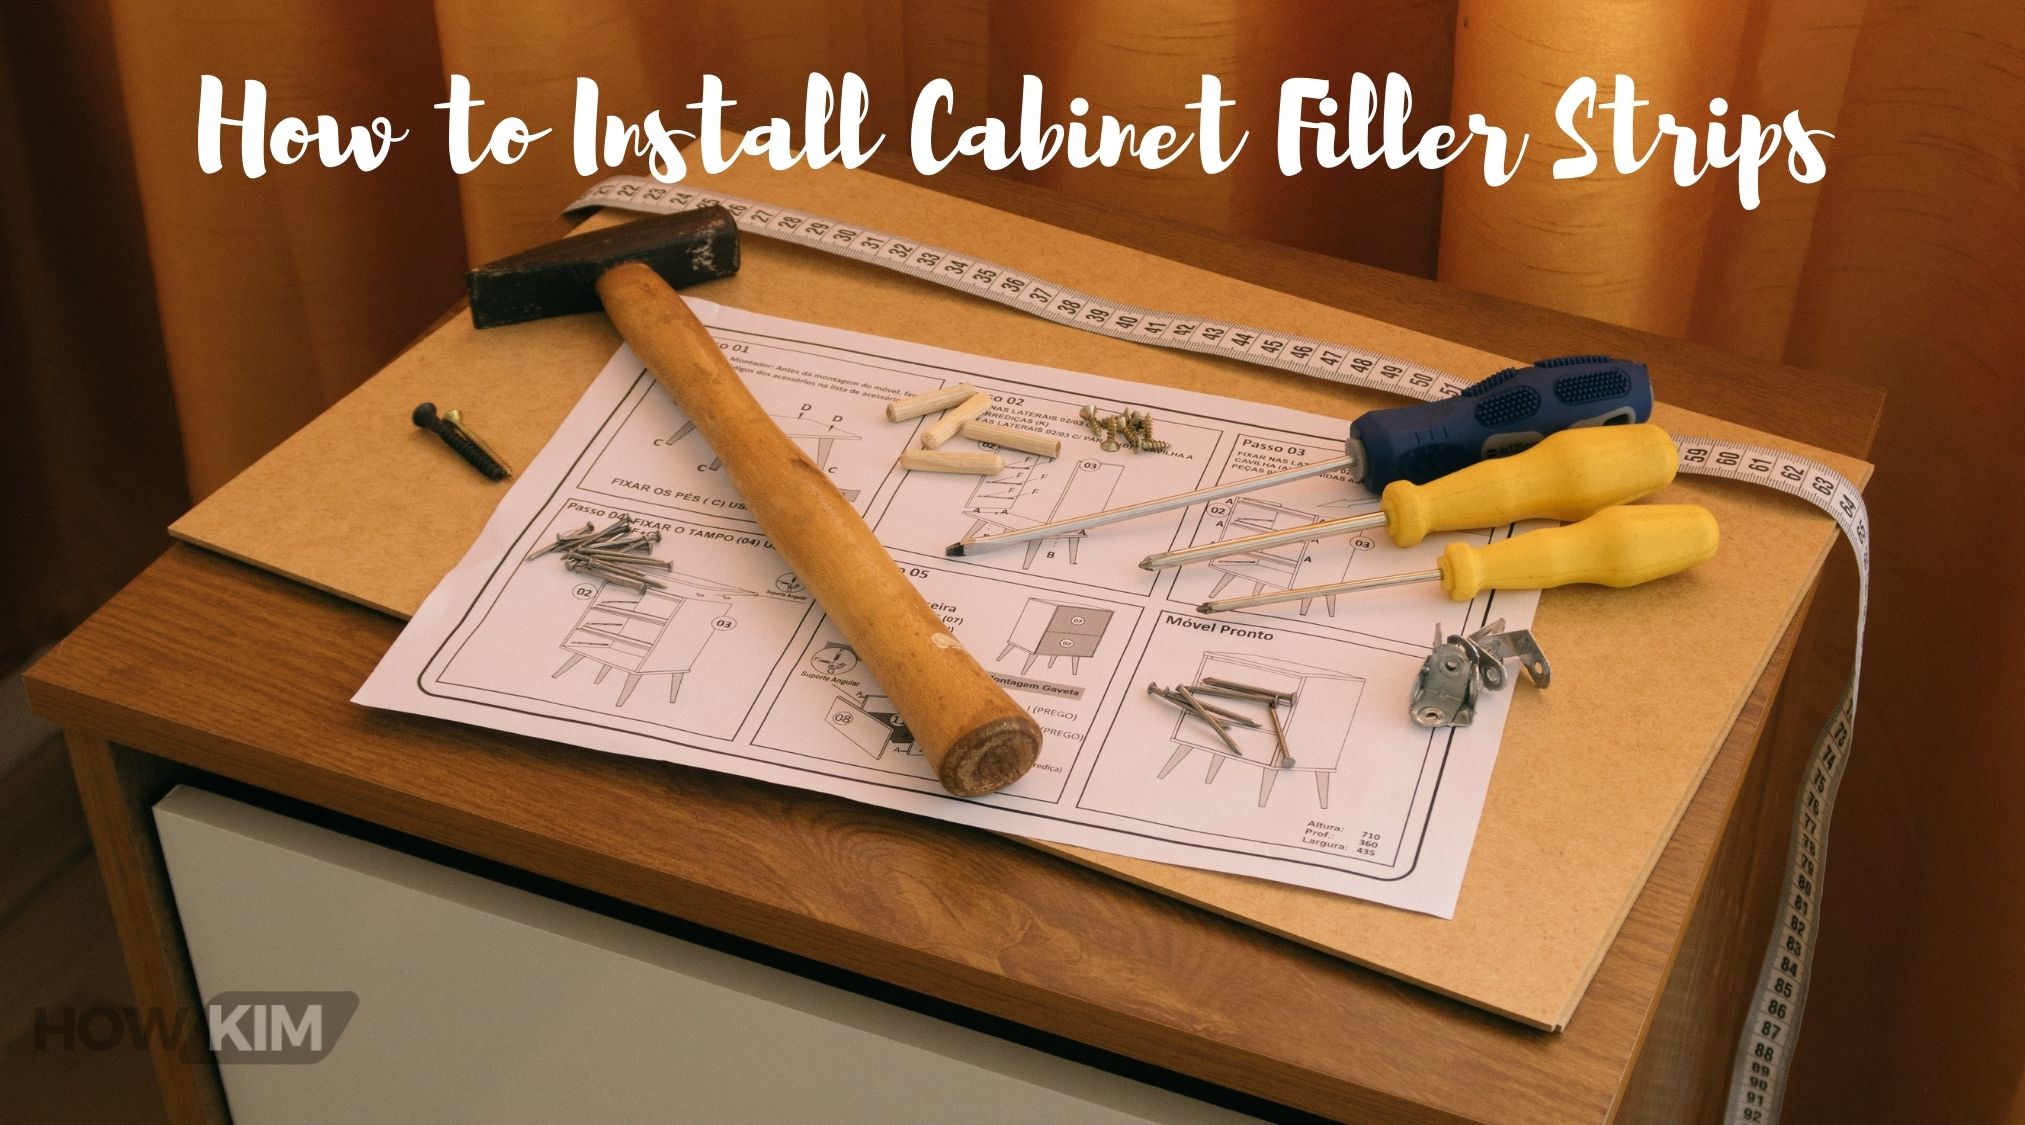
Tools and materials needed
There are a number of tools and materials needed for the actual installation, so all these must be put together. Then one can get on to the real business at hand. Here’s a list of items you’ll need:
- Tape measure
- Pencil
- Miter saw or circular saw
- Safety goggles
- Clamps
- Screwdriver
- Cabinet screws
- Wood glue
- Sandpaper
- Paint or stain (optional)
To insure a smooth workflow, be sure to make the following items available prior to beginning the installation.
Cutting and measuring the filler strips
Installing filler strips requires very accurate measurements. First determine the size of the gap between cabinets, or that between cabinet and wall. Measure the length needed with a tape measure for the filler strip.
When you have the measurements, pencil in the lines on to a filler strip. Before cutting anything, first go back to measure again. If you are using a miter saw or circularsaw, set it to the right angle and carefully cut along marked line.
Preparing the cabinets for installation
Preparing the cabinets must precede installation of filler strips. If you find any screws or nails in the way, remove them. Sand the rough edges or surfaces on all of the cabinets and filler strips.
If you intend to stain or paint the filler strips, now is your chance. Once the specified finish has dried completely, you can go ahead with installation.
Read this Article: How to Hang LED Grow Lights
Installing the filler strips
Now that the cabinets are set, let’s put in filler strips. First, spread a thin coat of wood glue on the backside of the filler strip. Place the stripe in the space between cabinets, making it flush with surrounds.
Clamp down the filler strip. This will keep it steady while you move on to the next step. If necessary, use a screwdriver and cabinet screws to add extra security.
Holding the filler strips in place
After putting the filler strip in place, it is imperative to fix it tightly for permanent success. Take the clamps off and carefully make sure there are no gaps or misalignments. Before proceeding, if necessary Adjust slightly.
For a stable installation drive some extra cabinet screws through the filler strip into neighbouring cabinets. This will add extra stability, and would not shift over time.
Finishing touches and adjustments
Now you’re almost finished with the installation process. Examine filler strips carefully for defects and rough edges. If needed, rub any uneven spots with sandpaper.
If you’ve decided to go the extra step and paint or stain the filler strips, make repairs of any areas damaged during installation. After completely drying, proceed to the next step.
Common mistakes to avoid
Installing cabinet filler strips may seem simple, but there are a few common errors to be avoided. Another is to measure inaccurately. If filler strips end up ill fitting it’s no wonder people give up on making their shoes last longer this way. Before making any cuts, take the time to ensure exact measurements.
Another error is the failure to keep filler strips securely. If there is not enough fixing, the strips can come loose over time which will affect the overall stability of your cabinets. To prevent this problem, make sure screws are first driven securely into the adjacent cabinets.
Conclusion and final tips: How to Install Cabinet Filler Strips?
Cabinet filler strips are vital for getting a professional look to your kitchen cabinets. If you follow this step-by -step guide, your installation process will be clear and orderly. Always take accurate measurements, make up the cabinets properly and tighten down filler strips.
In short: cabinet filler strips not only performing their useful function of making the gap between two cabinets vanish, but they add to some decorative touches as well. If you put your tools where the little things are and get down to work, you can install filler strips just as if it were second nature – after all Kitchen Design is pleasant a kitchen which looks harmonious.
With these steps and all the knowledge you need, it is time for practice. Taking the first simple step, install some cabinet filler strips; and your kitchen will no longer seem like an amatuer’s production room.
