Mastering the Repair: A Comprehensive Guide on How to Fix Sliding Shower Door Bottom Guide
Introduction to Sliding Shower Door Bottom Guides
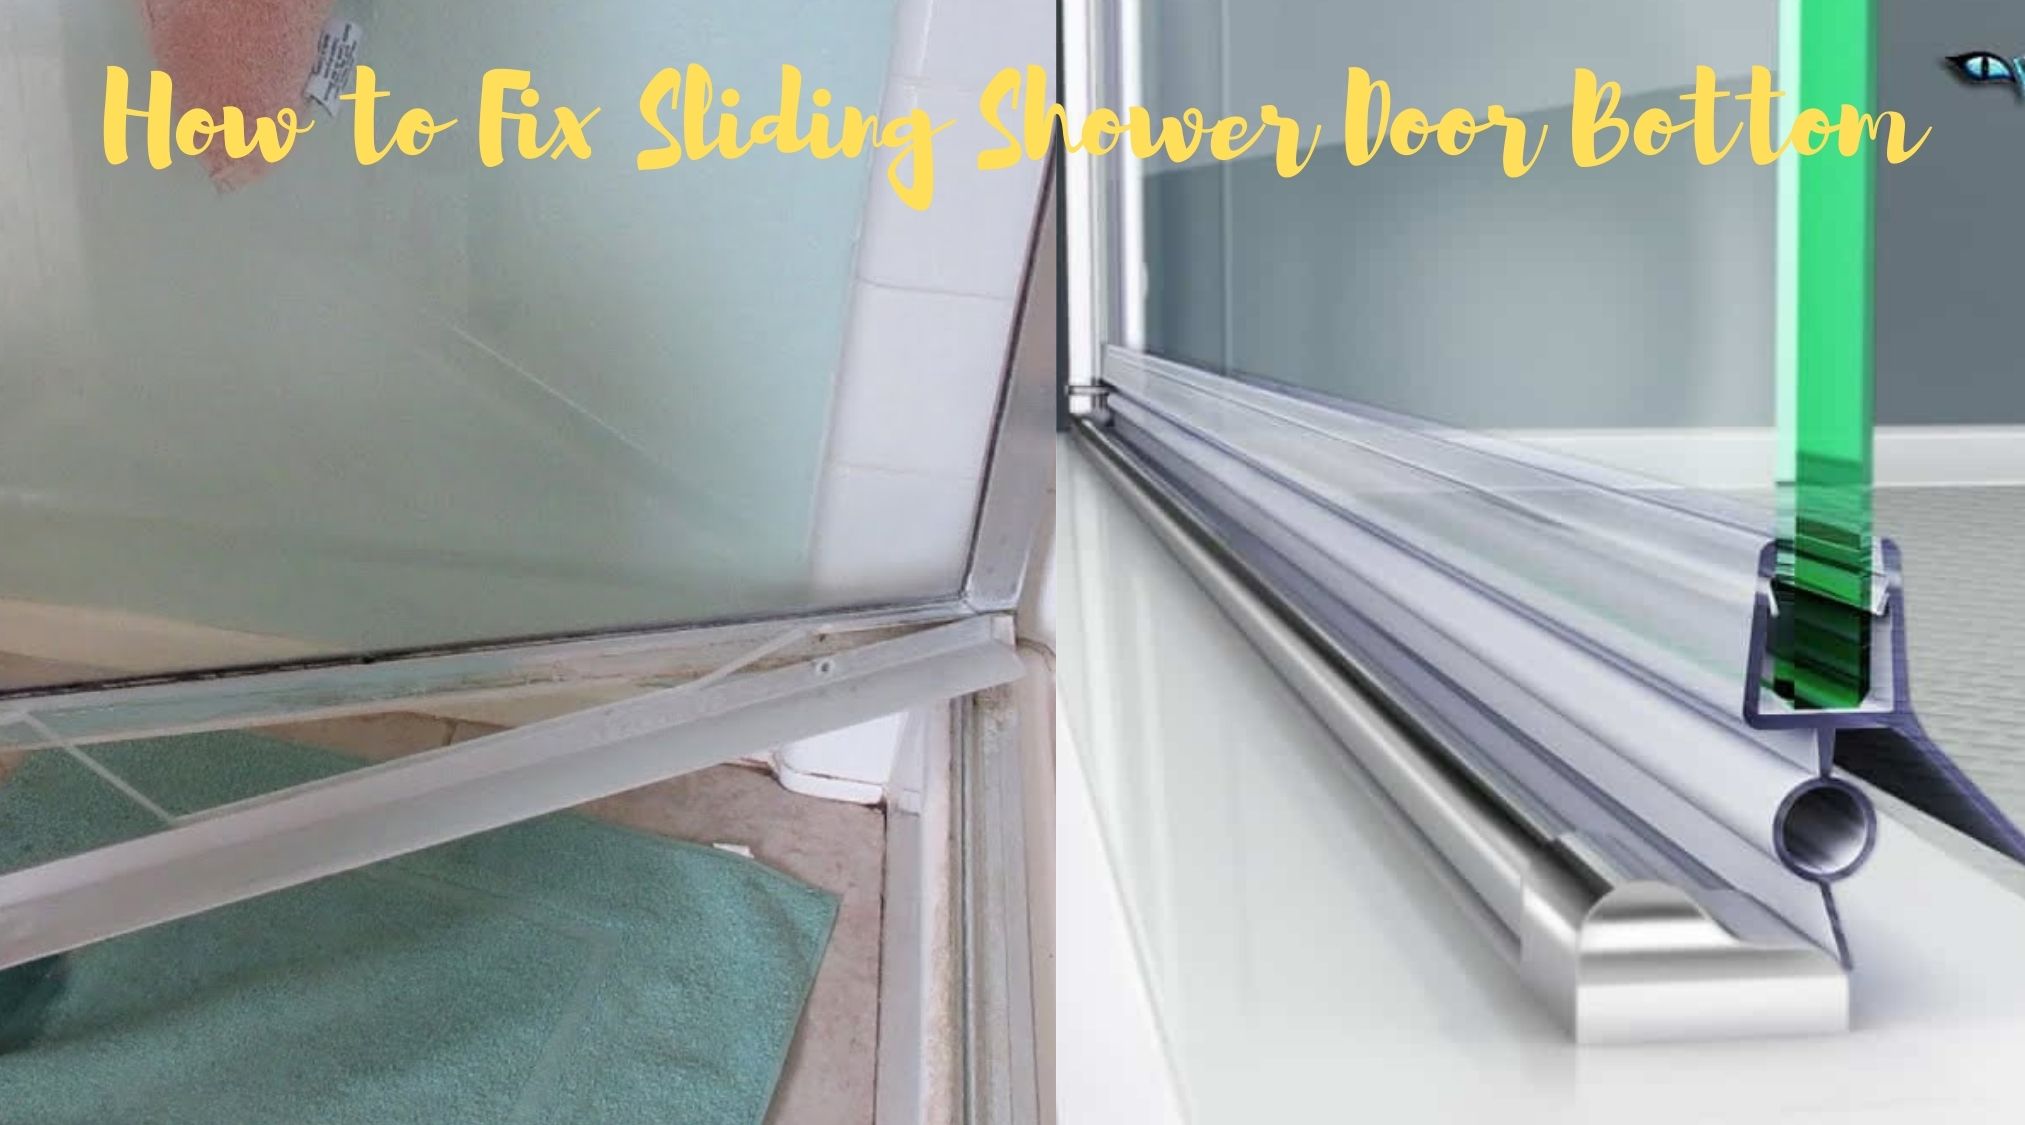
The sliding shower doors, which have a sleek design and space-saving functionality are popular for modern bathroom. However, after years of wear and tear the bottom guide on these doors sometimes give out. Using this comprehensive guide, we will go through all the possible glitches that can occur with a sliding shower door bottom track and walk you step by step. Mastering the repair of your sliding shower door bottom guide means that your shower door can keep running long afterwards in silky smoothness.
Understanding the Problems with Sliding Shower Door Bottom Guides
Common problems To get started, however, it is necessary first to understand the most common or typical sorts of failure with sliding shower door bottom guides. In particular, one of the biggest problems is dirt piling up in guide tracks. This results in uneven and hard to slide, with frustrating shower time. Another headache is wear and tear of the guide itself, which affects proper alignment or function of the door. Finally, a guide that was damaged or broken can prevent the door from sliding at all and make it unusable.
Equipment Needed to Fix a Sliding Shower Door Bottom Guide
To successfully repair your sliding shower door bottom guide, you will need some essential tools and materials. Here’s a list of items:
- Screwdriver (Phillips and flathead)
- Allen wrench
- Replacement bottom guide (specific to your shower door model)
- Lubricant (silicone-based)
- Soft cloth or sponge
- Mild detergent
- Safety goggles
- Gloves
These repair tools will make the course informal and more effective. So how to fix a sliding shower door bottom guide? Let’s get into step-by-step.
Step-by-Step Guide on How to Fix a Sliding Shower Door Bottom Guide
Step 1: Assess the Damage
Here, the first step in fixing a drifting bottom guide on your sliding shower door is to figure out what exactly has gone wrong. Inspect the guide and the track for loose, misaligned or broken places. If the dirty sticky condition is not too serious, expertly cleaning and lubri-cating may be all that’s called for. If the guide is damaged, however, or broken, it must be replaced.
Step 2: Remove the Door
In order to get a better angle on the bottom guide, then, you ‘ve got to take off the sliding shower door. Then, locate the screws driving down the door. Loosen them with a screwdriver, and gently detach the door from its rail. As a result, it is necessary to ask someone to always help hold the door, and there are never any accidents or damage.
Step 3: Clean and Lubricate
If the guide is dirty or sticky, first wash it up prior to mending. A: Add a little mild detergent to warm water first. After that wipe the guide and track with a soft cloth or sponge. Wash well, then dry thoroughly with clean cloth. After cleaning the guide thoroughly, apply silicone-based lubricant until it moves smoothly.
Step 4: Replace the Bottom Guide
If broken or otherwise beyond repair, the bottom guide will have to be replaced. Follow the manufacturer’s instructions, or ask an expert whether the alternative guide he or she recommends is suitable for your shower door. Getting rid of the old guide is as easy as unscrewing or unclipping it from the track. So now, the new guide as directed, firmly fasten it in.
Step 5: Reinstall the Door
If the bottom guide is already set or replaced, it is time to rehung the sliding shower door. Push it back in, in line with the track. With your screw driver, reposit the screws engaged properly, not tight, not loose. Verify that the door glides smoothly across.
How Do You Fix a Sliding Shower Door Guide: Practical Tips
While the step-by-step guide provides a comprehensive approach to fixing a sliding shower door bottom guide, here are some practical tips to consider:
- Clean and oil the guide and track from time to time in order that dirt and rubbish don’t collect.
- Do not use any harsh chemicals or abrasive cleaners that might damage the guide and the track.
- If after repairs the sliding shower door still performs poorly, engage the specialists to make a go-over inspection.
- Their repair procedures are pretty fierce, wear a pair of goggles and a pair of gloves to protect yourself. Safety first!
The following tips will help you make your sliding shower door bottom guide last for a long time, and keep it in top condition.
How to Maintain Your Sliding Shower Door Bottom Guide
When you have repaired your sliding shower door bottom guide, then it is most important that you do some basic maintaining steps to avert future problems. Here are some tips to keep in mind:
- Clean the guide and track frequently, dust, dirt, or soap scum.
- If you are sure to lubricate it with a silicone-based lubricant every few months, it will glide smoothly.
- Check to see if the material has begun to wear. Deal with it promptly before it becomes an even greater headache.
- Verify once in awhile that the screws and nuts are tight.
Should you make these routines part of your regular cleaning schedule, you can improve the longevity of the bottom guide on your shower door, while reducing the need for emergency repairs.
Read more Article: How to Fix LED Light Remote.
How Do You Fix a Sliding Shower Door Handle?
Of course, that doesn’t mean to say that this guide can’t also be thought of as me teaching my readers how to fix the bottom guide of a sliding shower door. I would also like this occasion to discuss how to fix the handle of a moving shower door. If your door handle is loose or malfunctioning, follow these steps:
- Find the screws securing the handle.
- If the screws remain loose, tighten them with a screwdriver. If they are already stripped, replace them.
- If the handle is cracked or broken, replace it with a replacement handle for shower doors.
- Next, replace the old handle with a new one per the manufacturer’s directions.
It looks easy to fix the handle, but fixing the handle is very easy to mess up. If you mess up, don’t hesitate to ask an expert. Safety first.
DIY vs. Professional Repair: When to Call for Help
It’s not rocket surgery: anyone can try it as a DIY project. But sometimes a professional’s touch is just better. If you encounter any of the following scenarios, it is recommended to seek assistance from a professional:
- The door or guide is destroyed so seriously that repairs are required, or even replacement must be contemplated.
- Inadequate experience or insufficient courage to carry out the repair.
- Of course, we must not forget that they also have time constraints, or they just don’t have the time to do such a project.
- Repair attempts for the bottom guide on the sliding shower door.
Because the latter is professionally qualified and prepared to undertake this more complicated repair, it is a perfectly good fair to bring shower doors back to operational strength.
Conclusion: Sliding Shower Door Repair Guide: How to Master Repair
Now, using this expert guide, you can fix like the experts–your shower door bottom guide’s repair is complete. Compatible with these kinds of guiding system: But before you install these manuals, you must first get familiar with the problems with such a guiding system, control your mind, and follow the step-by-step instructions, so that you can avoid the common problems and normalize operations for your sliding shower door. However, please do routine maintenance and seek expert assistance as needed. In this way, after you get this new information, you can bring all six slides into action and be sure your shower door bottom guide Anemia repairs, whatever the problem.